Updated 3/10/2023
Reciprocating saws are some of the more popular tools for remodelers, contractors, and plumbers.
But, these tools can seem big, bulky, and not very useful if you haven’t used one yourself.
So what is a reciprocating saw used for? It’s simple. Reciprocating saws are used for demolition and large, simple, imprecise cutting projects.
These saws are great for any project requiring you to cut through walls, cut a new window, or work with nail-embedded lumber.
However, they won’t be producing the fine cuts and detail work you need for more detailed work.
Even if reciprocating saws are best for imprecise work, owning one is still a sign of becoming a serious DIY-er or contractor.
Let’s take a closer look at these saws and see how they are best used.
What Do You Use A Reciprocating Saw For?
Reciprocating saws are an incredibly versatile tool. But they’re also tools with very specific limitations.
Reciprocating saws can cut through most materials, but they won’t offer very precise cuts in any material.
Reciprocating saws also cause a fair amount of lost material. They can generate quite a bit of sawdust, splinters, and debris, which means that more of the material gets chewed up in the cutting process.
That doesn’t mean that reciprocating saws aren’t helpful tools.
A reciprocating saw serves several important purposes for remodeling, contracting, and other big projects, like…
- Rough-cutting lumber, sheet metal, and other materials
- Cutting through old roofing
- Cutting lumber with embedded metals (nails, screws, etc.)
- Ripping out walls
- Replacing windows
- General remodeling
- Cutting pipes
- Rough-cutting stone and tile
That’s just a sample of what you can do. With some experience, you’ll quickly start developing new useful ways to use a reciprocating saw.
You’ll also develop more control, increasing the saw’s utility.
Different Reciprocating Saw Blades for Different Jobs
Like most powered saws, you need to pay attention to the kinds of blades you’re using for each job.
A typical reciprocating saw blade will be designed for rough, aggressive cutting. It will have relatively wide long teeth and fewer per inch than a typical saw blade.
But there are more specialized saw blades for reciprocating saws that have shorter, sharper teeth, and more of them.
The good news is that most reciprocating saws are compatible with any blades designed for a reciprocating saw, unlike the table saw dado blades that can only be used for that saw brand.
That doesn’t mean that all saws or blades have universal compatibility, so you should always check compatibility before buying.
But it does mean that you’ll have more options than just a single brand or blade line.
You may also be able to use the same blades on several different reciprocating saws.
Many contractors and DIYers find it helpful to keep large and small reciprocating saws on hand, so that added compatibility is helpful.
But, having the right kind of blade really matters, so let’s briefly consider the different options you have, and how the blade changes the action of your reciprocating saw.
Wood Cutting Blades
Woodcutting blades are probably going to be the ones you use most after you buy a reciprocating saw.
Wood is still the basic building material for most construction and DIY projects. So you’ll be using these often.
Expect these blades to have 5-10 teeth per inch. Steel blades are the most common, but you can also get cobalt alloy, combinations of different steels, and other variations on the standard model.
Metal Cutting Blades
While you’ll use a blade designed for wood even when you know there are nails and other metal in your lumber, you’ll want to use a different kind of blade for metal. Look for blades with many teeth per inch (TPI from here on).
The max you’ll usually see is about 24 TPI. Alternatively, you may also find some blades that use diamond grit or another cutting surface instead of teeth.
While they can work, those blades are often better for rough-cutting stone and tile.
Demolition Blades
These are less material-specific, instead of providing the rough cutting power best suited to demolition, and nothing else.
These can have variable TPI and tend toward a lower TPI rating of around 10.
Carbide Grit Blades
These blades don’t have any teeth. Instead, they use grit to cut.
They’re best for stone and tile since those materials are likely to break or chip if exposed to teeth-based cutting.
While these blades can produce a finer cut, they are still unsuitable for detailed cuts, curves, or narrow cuts without room for material loss.
What is the Best Reciprocating Saw?
Many people want to make sure they’re buying the best when it comes to power tools.
That makes sense; these tools are a significant investment, and you don’t want to replace them early because of design flaws.
The effectiveness of your tool depends in part on how and where you’re going to be using it.
So for some users, a smaller reciprocating saw will serve you better than a larger one.
Or you might need a more powerful saw for some jobs and a less powerful and controllable option for a different job.
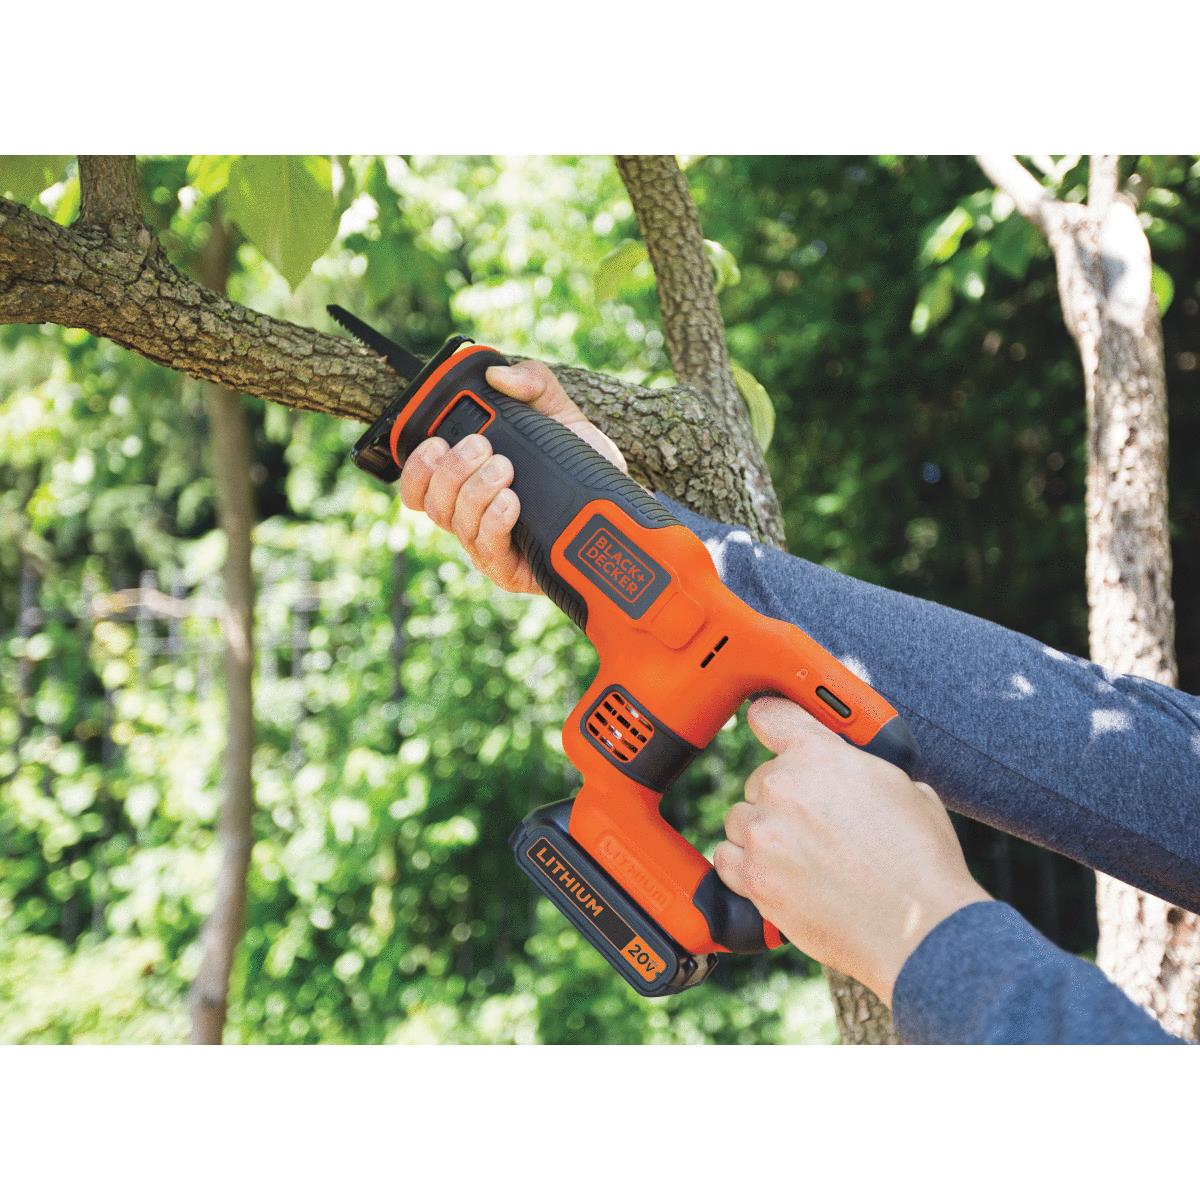
Our Reciprocating Saw of Choice: BLACK+DECKER BDCR20C 20V MAX Reciprocating Saw with Battery and Charger
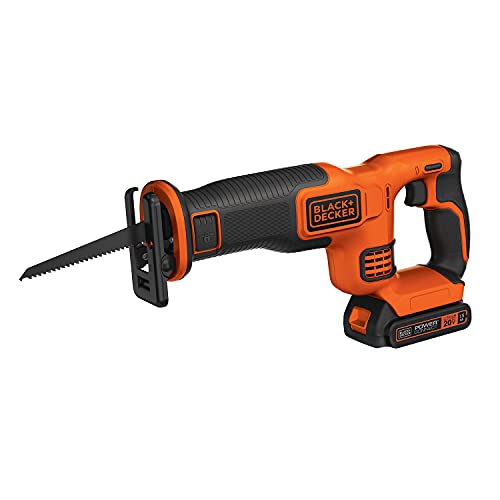
- CONVENIENT BLADE CHANGES – Get back to work with quick and easy tool-free blade changes
- EXPERT CONTROL – Get control where it’s needed most with a pivoting shoe
- ONE SYSTEM, ONE BATTERY: Powered by the same battery system that you use for you other 20V MAX DIY projects.
- Delivering up to 3,000 Strokes per minute with a powerful motor, this saw offers control for all DIY levels
While this reciprocating saw is a battery-powered option, as part of the Black and Decker 20V line, it’s a more powerful saw than you could have found in battery-powered tools even a few years ago.
Thanks to the lack of a cord, the additional portability and more compact design make up for occasionally having to change out your batteries.
It also offers an adaptable speed trigger, adding much flexibility and control.
It takes experience to know when you need the full power a saw has to offer, and when a more careful cut is called for, the MAX reciprocating saw can handle both.
The saw also has a pivoting foot, which helps for smaller spaces and angled cuts. Add to that the tool-free blade change, which is a solid option overall.
However, there is one noticeable flaw with this system. It overheats easily if you don’t have the battery properly seated and can fry the whole saw.
Always ensure the battery is tight and discontinue use if you notice the saw getting too warm.
Pros
- Easy to use
- Portable
- Long battery life
- Adjustable speed trigger
Cons
- Batteries take a while to charge
- Can overheat if the battery is too loose.
How to Cut a Straight Line With A Reciprocating Saw
First, you need to make sure you have everything you need. Ensure you have several replacement blades, especially if starting a big project.
Check the length of your extension cord if you aren’t using a cordless saw. You should be able to easily access your entire workspace.
You also need to make sure you have on a pair of work gloves, and that you’re wearing safety goggles.
Taking these steps before you start your saw will help keep you safe.
Horizontal Cuts
There are some notable differences between horizontal surfaces and vertical surfaces.
For horizontal surfaces, you’re probably better off with a jigsaw if the line you need to cut is longer than the reciprocating saw blade.
However, a reciprocating saw can be used to rip through lumber and cut it to size., assuming the line is slightly shorter than the blade.
Mark the lumber, and secure it to your work surface.
A C-clamp tends to work best. The lumber should extend past the edge of your workspace so you don’t accidentally cut into your table or counter.
Rest the saw against the wood, and be prepared for some dancing when it first turns on.
You should have a firm grip on the back handle of the saw, with your other hand supporting the saw from underneath.
It should cut through the wood quickly and easily.
Vertical Cuts
Vertical cuts are a little different. You’ll still want to clearly mark the cut line, but you’re more likely to be moving with the saw for a cut on a vertical surface.
Some people like to use a guide rail attached to the cutting surface to help maintain a straight line.
While that’s possible, attaching a rail can add time and difficulty to a project, and isn’t always an option.
At some point, you’ll need to use a reciprocating saw without a guide rail.
Some saw blades will let you punch through the material to begin cutting.
However, when that isn’t possible, or if you want to make life a little easier, you can also use a drill to get started, just like you would for a jigsaw.
Move with the saw as it cuts. This means moving more than just your arms.
Bend your knees to follow vertical cuts going down, or walk with the saw for horizontal cuts on a vertical surface.
Take it slow. The key to cutting a straight line with a reciprocating saw is control.
That means that even if your saw can chew through the material much faster, you can only go so quickly before you lose control of your saw and get an uneven cut.
Especially when you first start using a reciprocating saw, give yourself a little extra space. If you cut a less-than-straight line, you can still clean up with a jigsaw or handsaw afterward.
How to Remove a Broken Blade for a Reciprocating Saw
It’s inevitable. At some point, you’ll be in the middle of a project, and your blade will break. It won’t go dull and won’t necessarily be less effective than it was- it will just break.
Frustrating as blade breaks can be, they are part of using any cutting power tool. As with any tool, safety should come first when replacing a reciprocating saw blade.
The first thing you need to do after a blade breaks is to cut the power to the saw. Take your finger off the trigger, then unplug the saw or remove its battery.
The trouble with broken blades is that, on most reciprocating saws, they are likely to break near the attachment point.
After unplugging your saw, remove any obvious loose pieces.
Check the attachment area for any signs of sharp edges or dented and damaged material.
If you’re in the clear, it’s time to assess the blade itself.
If it broke far enough from the attachment to give you a safe grip point, pinch the blade and use your other hand to slowly loosen the lock mechanism until you can lift the blade free.
If it broke closer to the attachment, and you don’t have a safe grip, start to loosen the lock mechanism, and then see if you can gently shake the remainder of the blade loose.
If it doesn’t come out, grab some WD-40 and spray a very small amount into the mechanism.
Now try again.
If the blade still won’t come out, grab a toothpick or similar item (preferably not a screwdriver, screw, or nail) and see if you can maneuver the blade out.
This process may take a few tries, but almost all broken blades will come free between the additional lubrication and the toothpick.
Best Reciprocating Saw for Cutting Cast Iron Pipe
Two words contractors rarely want to hear in the same sentence…”cast iron” and “pipe”.
Fortunately, reciprocating saws are the right tool for this job, especially if you don’t need an immaculate cut.
While there are some variations in reciprocating saws, for the most part, any decent reciprocating saw will be able to handle this job.
More important is the blade you use in your reciprocating saw.
The best blades will be diamond grit blades, preferably with a tang (attachment) at either end.
The additional attachment makes it possible for you to switch which side you’re using when the blade dulls, instead of switching to a new blade entirely.
Part of the reason you want a diamond grit blade is that cast iron can flake and crack while you’re working.
Grit blades cut more evenly than toothed blades and reduce the tension on your cutting surface.
That means you’re more likely to cut your cast iron pipe without causing unnecessary damage.